LCN/JTLK Cool Season Lawn Rehab Project Supplement Guide
This is a supplement guide designed to give more context surrounding a cool season lawn fall recovery or rehab program (Kentucky Bluegrass/Fescue/Rye). Our project (myself and Jake The Lawn Kid) starts here in the fall and will go through until next summer and possibly beyond! It’s located in NW Indiana, about 35 miles from Chicago, IL.
Here’s the plan:
Full on aeration (double/triple pass), overseeding, Starter Fert, Milo and in one section we did the Greene County Fert Seed Starter Pack and in another we are testing a really cool water retention chemistry called Hydretain.
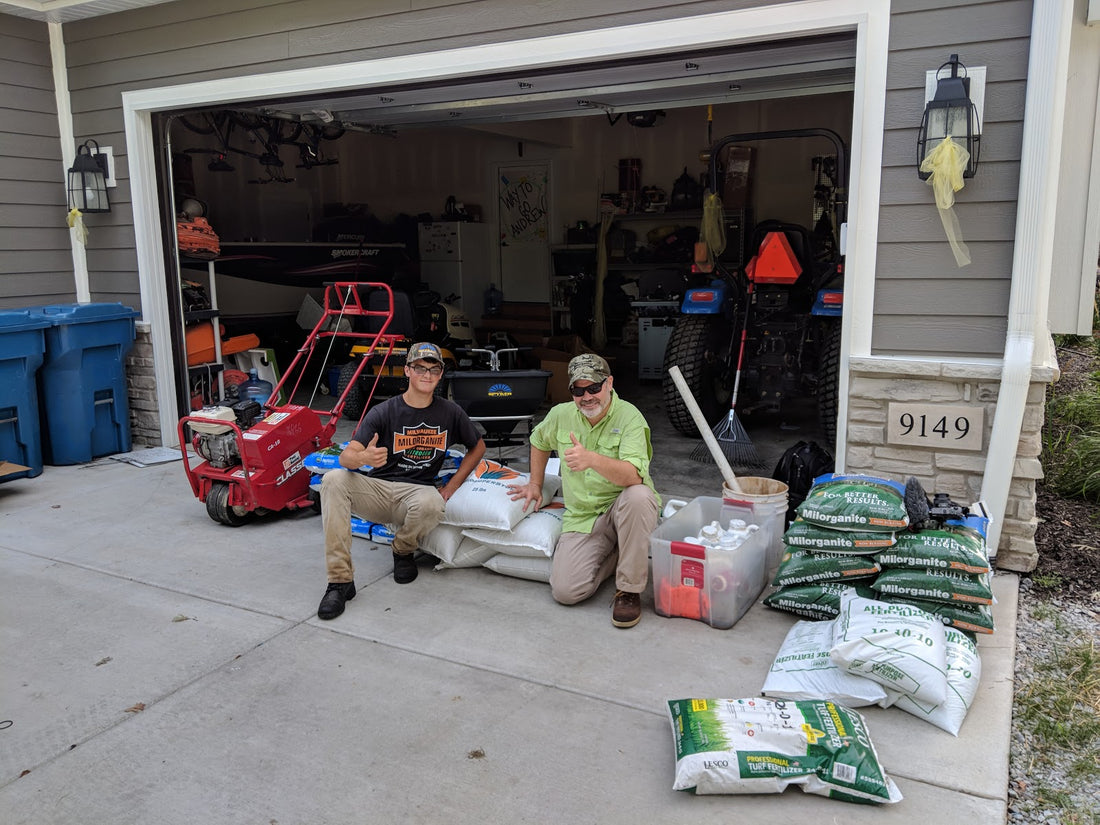
Jake has already released his first video showing our prep work and some updates to the strategy. Here we are Sunday morning, Sept 2, getting ready to execute the plan:

Property Map For You To Follow Along
Here is my map showing the different areas of the lawn we are treating and how we are treating them. We are experimenting with some different strategies but for the most part just working with traditional mechanical aeration and overseeding like I recommend in my Cool Season Hybrid Organic Turf Guide.
We also have a giant slope in front - so steep we could not get the aerator on it safely - good thing we had Air8 liquid aeration available!
It’s Over 90 Degrees Outside Can I Start?
First up are the temperature considerations. Some folks have asked me about seeding when it’s super hot out. In fact, this day here we are seeding, it’s 93 degrees in NW Indiana and super humid.
That’s way too hot for seed right?
It is, but keep in mind, the seed has not yet germinated. We have a good 7-10 days ahead of us before that starts happening.
We are seeding a blend of mostly KBG but there is some rye and fescue included too. Both of those germinate more quickly than KBG. Let’s look at the weather window ahead:

This tells me that we hit the weather window right at the VERY beginning, perfectly.
It was in the 90s the day we seeded and the day after, but by the time the seed germinates (7 days later), it will be well down below 80 during the day where there isn’t as much chance for our little baby grass plants to get heat-zapped or killed.
If you feel like in your area there is a strong chance for more 90 degree days later on down the road - then wait until you are fairly certain that in most years, temps should stay down below 80. In the end, it’s all a guess really.
Plus, we all have time constraints. We did our seeding because this was the best time for me and Jake (who is still in high school) to get together and put in the work. That’s why I always say, “Throw’er Down and Hope for the Best!”
These next few days are going to bring ideal weather for growing cool season grass. Mild temps, considerably below 80 during the day, 60s over night, and good chances for rain. Overcast skies are good because less sunlight means the seed stays wet longer!
We gave it the initial irrigation right after we finished all the work Sunday, so things are off and running. Monday we did end up getting the thunderstorms I had hoped for - here’s what it looked like Monday afternoon downtown in Chicago (same weather as our project lawn).

But wait, there is more: If you look at Sept 11-16, those are CRITICAL days with little chance of rain help.
Our initial irrigation, natural storms, and the homeowner watering is going to get us moving and what I don’t want to happen is the initial excitement, and therefore attention to detail, wear off -- and we fall short of needed water right in the window of critical germination.
I’m concerned about this in our project lawn, and I’m concerned about it for you, too, so write this down in your lawn journal:
The number 1 reason seedings fail is lack of proper watering. Water, water water and water some more. Keep that seed wet all day.
If you use a covering on some spots like peat moss or Scott’s Patchmaster (I love the stuff) then be sure to poke your finger beneath that layer after a watering - make sure your irrigation is penetrating that covering and reaching the seed and top of the soil beneath.
Another reason seedings fail is you get your covering too thick. You don’t need a covering in all cases and we will talk about that in the video coming up this weekend.

Mark my words here: no matter how good your irrigation game is - there is no watering that can match up to a good rain from above.
Rain water is nourishing and magical - no joke. It brings natural nitrogen with it from lightning and it only takes 2 or 3 good lightning-laced rains and your seed will germinate.
Your job is to fill in the gaps with your own sprinkling. Mother Nature will help you, but only on Her own time - you pick up the slack when she isn’t cooperating!
Water Before You Aerate
Quick note - water deeply the day before your aeration. Get the water to soak in a good 3” deep if you can - this may require a couple deep waterings in the days leading up to your aeration.
Get a metal rod and jam it into the soil. If you can get it to go in at least 3” with just your hand and arm strength, then you are good to aerate. If not, water some more, deeper. If that doesn’t work, then do the best you can and go ahead and aerate anyway - hope for the best!
In our project lawn, we got a heavy thunderstorm the day before which make the lawn nice and soft - and a bit slippery on the sloped, shady spots. We got good cores all around.
Poke Holes, Poke Holes, Poke Holes!
Before you can “water-water-water” you have to poke enough holes with the aerator. The reason we want all these holes poked is to create better seed-to-soil contact.
Aeration is the easiest way for us homeowners to create a good seed bed in an existing lawn. You’ll see that some seed falls in the holes, but a bunch of it sticks to the cores themselves.
And as you stomp around on them (because you are doing a double-or-triple pass aeration) that will mash the seed into the soil left on top. This is all part of what we want to happen!

As you irrigate over time, all of this will “melt” back into the lawn together and this is one of the keys to success. Another key is that 30% turfgrass you have there.
Remember, believe it or not, your existing lawn will help hold in your seed. That’s why I almost always say that if you have at least 30% good turfgrass in your lawn, it’s best to opt for rehabbing your existing lawn rather than a complete nuke and start over.
Remember, the existing turf that is there is the alpha male of the site. All the other grass either never grew or died along the way… but what remains - it’s strong!
It also probably has decent micro-activity in its roots that is helping it to survive. If you kill it all off, those microbes and beneficial fungus will suffer while you re-grow fresh stuff.
It’s better to let the existing turf help the new turf establish and eventually they can all work together.
Having some structure to the soil, even if from struggling turf and weeds, will help keep your seed in place should you get a massive downpour or two.
What About Mowing?
This lawn is riddled with foxtail, broadleaf plantain, a little creeping charlie and some clover; not to mention, crabgrass.
There is, however, good turf between. The top, flat portion of the front lawn is the worst area, sitting at right about 30% turf-to-weeds/dirt. Whereas the back is pretty decent but does have some rather large bare spots.
The homeowner mowed the day before for us. I recommend you do this too, and go ahead and mow 2 notches/settings lower than you normally do. This shouldn’t shock your grass too badly, so just do it. Mulch the clippings.

The reason for this mowing is that you are not going to be able to cut again for a while. After you’re done with all the aerating, seeding and ferting #FertLife… you should not mow for 3 weeks.
That will be tough but you have to do it. I’d really rather you wait 4 weeks but I don’t think that will be possible. The amount of Nitrogen we are putting in here is going to make your existing grass grow pretty fast and thick.
Weeds will also take off, so don’t be surprised. Mowing lower from the jump will help to minimize some of the pain you will feel not being able to mow.
At the 3-week mark, your new seed should be germinated and pretty well growing. Go ahead and mow but get on and get off quick.
From there, mow when it needs it but again, be quick about it. If some areas get crushed, just hope for the best from there, it happens.

What About DeThatching?
Honestly, I have never dethatched a lawn, ever. And believe me, after 15 years working with TruGreen, and seeing and working on many sodded lawns with massive thatch problems, I’ve still never had to dethatch.
Instead, I have always just used the aerator. If you have a really bad case of thatch, just run over it 3 or even 4 times with the aerator (adjust your irrigation too of course).
I promise that will break it up enough for you. If you need a faster breakdown, consider De-Thatch from the Greene County Fertilizer line. Hit the lawn with a 6oz/1000 sq ft rate every 3 weeks up until you aerate and seed.
Now, I also realize that not everyone takes my advice, and that’s cool. There are multiple ways to win this war. Guys in my Facebook Group have had good luck with the cheap Greeneworks Dethatcher because it’s like $85 there isn’t a huge risk if it dies after a couple seasons.
SunJoe is another I see in the group that has a similar price point. My only caution to you here is that you should NEVER remove 100% of your thatch layer.
Make sure you keep at least ½” uniform thickness, and even if you do dethatch this fall, you still will need to aerate if you are seeding. Reason being is that aeration main job is to help create a seed bed like we already talked about.

Materials List and Cost
When we got to the property to walk with the homeowner, he indicated they would be having a pool installed and the entire east side of the property would be affected by the construction. So that essentially cut the project in half to 14K total square footage. This just meant that Jake got to take home the leftovers to play with at his house.
Some items were given to us at my request and are noted below, but I still give you the cost so we can get a true breakdown.
Aerator Rental: $105 from Home Depot (not donated, not sponsored)
Grass Seed: SeedSuperStore SS5000 Blend. These were donated by Drew, the owner for our project. I called him and asked which would be best for our project and this is what he recommended. Blue tag certified.
I have recommended Seed Super Store for several years because I know Drew the owner and know his meticulous care for his product. He carries blends you won’t find anywhere else in small quantities.
You pay a little more for this, but it’s worth it if you want the very best, top quality seed for your project. 4 bags, 25 lbs each, $700 ($175 per bag)
We seeded at a rate of 7lbs/1000 sq ft which is about double what is recommended. This is one of the secrets to success friends. Seed is cheap, Throw’er Down!
I realize I can say that since $700 in seed was donated to me… but I still stand by it. Go ahead and price out the alternative which is to cut everything else out of the lawn and then sod it. You’d be looking at several thousand dollars to sod a 14,000 square foot lawn. In comparison, seed is cheap!
Milorganite: 4 bags, $9.99/Bag at Gus Bock’s Ace Hardware who donated these bags to our project! (they actually donated 10, we used 4, the rest will get thrown down on Jake’s lawn!) Thank you Luke and Harry for your hospitality and generosity! Glad to have folks like you in The Region!
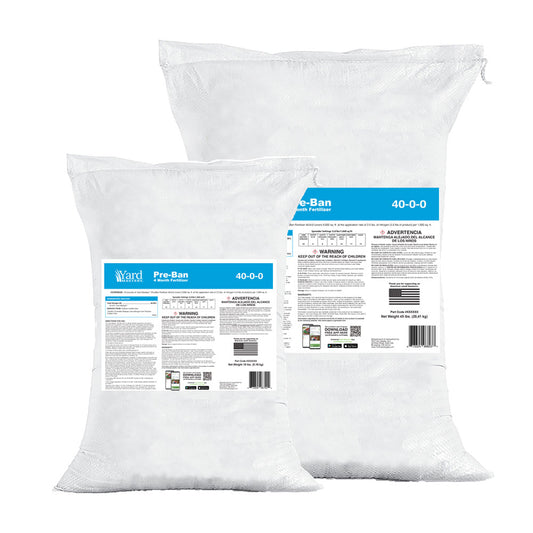
Starter Fertilizer: 1 bag, 40LBs, $7 at Walmart (not donated, not sponsored) Note: starter fertilizer is a generic term. You just want to get a fert that has some of all 3 elements in it - N-P-K at whatever ratios you can find. I got lucky with this triple 10.
Scott’s Patchmaster: 8 bags, $20.70 each including tax/shipping. These are the 10LB bags. (not donated, not sponsored).
I love this stuff - it’s easy and it works, just keep it thin and it will help your seed stick and retain moisture in the areas of the lawn that have only bare dirt or are on slopes (not on steep slopes).
It does have seed in it which is fine for me, I don’t really care about that part, but if you do, then there are alternatives that don’t have seed embedded.
Spyker Spreader: I called Spyker and asked them if they would donate a high quality spreader to this project. At the time I’d planned on having to push 30,000 SF and needed something that could stand up to a lawn with slopes and bumps and such. I also wanted a good spreader for Jake to build his business on one day.
They were super awesome and sent the Pro Series S60-12020. I’ll be getting more into their line at my own house here pretty soon as well (they sent me some stuff at my request) but let me just say, the S60-12020 Pro Series was a dream to push.
Nice, stiff frame but forgiving where needed. Effortless push up hills even when the hopper was full. Me and Jake both noticed the very wide, consistently strong spread pattern which we appreciated on larger expanses. We didn’t get a lot of time to really detail through it since we were putting in work - but it was pretty easy to dial in the settings for Milo and Starter once we practiced on a couple passes.
This spreader is overkill for most homeowners, but I know that some of you want top of the line no matter what and this would be it for sure.
Again, look for more on this brand going forward, and their sister brand, Brinly (more of a homeowner brand). I reached out to them myself - I made the contact because I like the brand already. I’ve always had better luck working with companies that I choose to reach out to, rather than the other way around, and I can see this will be a similar type relationship. They are good folks.
(Yes I still like Earthway - but they cannot keep up production of the 2600A-Plus that I recommend, and the price jumps up too high on Amazon when they are in stock, so I need an alternative and Brinly, so far, looks very good and even better in some respects)
Total Costs:
Aerator Rental: $105
Fert (Milo/Starter): $47
Seed: $700
PatchMaster: $165.60
$1017.60
Be sure to subscribe to my channel and Jake’s channel so you can follow along with all the updates and see my full video that is coming out, this weekend!
I’ll see YOU in the lawn!
AL


